Sunday, October 27, 2013

Halloween Projects with Pebbles' Thirty One

When my October Design Team package arrived from The Scrapbooking Studio I was excited to find a huge stash of Goodies that included Pebbles' newest Halloween line of papers-Thirty One, several black and white polka dot bags and a whole bunch of other awesome things. Check it out:
 
 I created a Halloween mini-album with the small bags, my Bind-it-All, and Pebbles' newest Halloween line of papers-Thirty One.The front cover has a photo overlay from the Thirty One line, it works here as a see-threw mat. I liked layering it with the papers and tags from the line as well and thought the dimension it added to the front was eye-catching.
  In order to create this embellishment, I cut a decorative straw in half, bound it together with twine, punched several flowers, and added the skull from the sticker sheet for the center. The flower is attached with pop dots to the straw.

 Double sided papers gave me a huge amount of diversity as I created the pages of the album, I punched more flowers and leaves for this page's embellies.

 American Craft Thickers in "Spooky" provided the perfect "Boo" title for this page.
 
 I wanted to create contrast between some of the black and white papers and the black and white bags, so I painted a few of the papers (Basil is above and Tiger's Eye is below) with Art Anthologies Dimensional Paint. I used two coats.
 
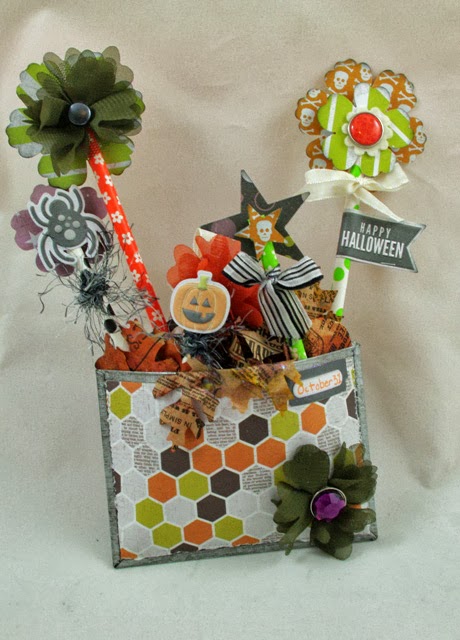
I also created a few layouts with the Thirty One line:
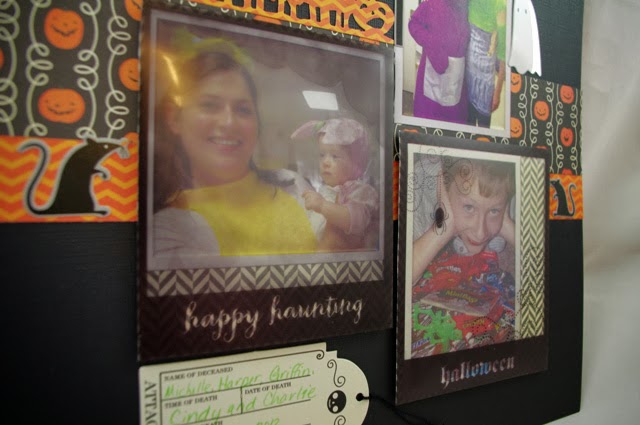
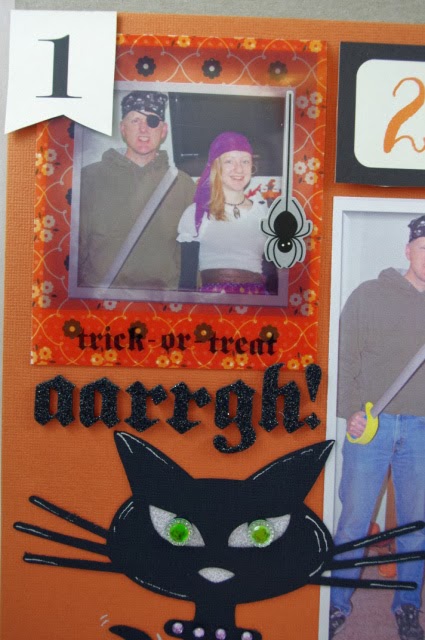
 In addition to the adorable stickers, photo overlays, tag and papers from Pebbles, I also used Tim Holtz's Alterations die Halloween Shadows.  I pop dotted two pictures using different thicknesses of pop dots for some dimension.
Here is the second layout. I again used a few of the overlays, some tags, and the Spooky American Craft Thickers for the "Aarrgh!"
The Scaredy Cat cartridge in the eClips die cutting machine cut the large black cat. I used green self-adhesive embellishments for the eyes

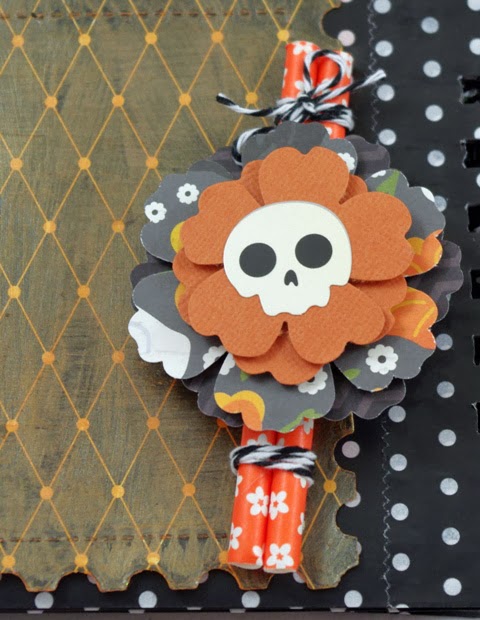
 Finally, I would like to share a few cards with you ....
 
 It was super fun using the eClips machine to create die cuts and a window card (below). The finished size of the window card is 4.75x4.75. I pop dotted the frame with small pop dots for extra dimension.
  Card Inside:

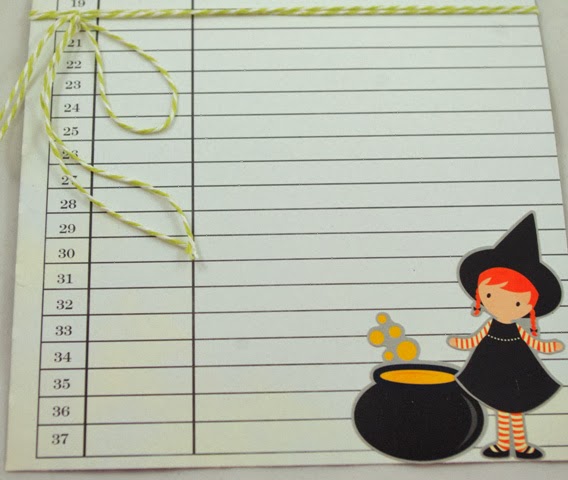
The stickers that accompany the Thirty One line are very cute! I used the witch hat on the die cut crow.


 Card Inside:
 The final card has a 4x6 photo overlay as part of the front decoration. Layered below the overlay is a tag, and on top of the overlay is a sticker with key, die cut candelabra, and skull sticker with diamond eyes.
 
Card Inside:

Friday, October 25, 2013

{Halloween Project} with Shelly Maxwell and We R Memory Keepers

 Create this fun wall decoration for Halloween using a metal container, We R Memory Keepers papers and Halloween stickers, Sizzix Tim Holtz Tattered Leaves die cut newsprint, ribbons, decorative brads, and Maya Road flower ribbon (orange and green).
Punch several flowers and stars from patterned papers, ink and layer onto decorative straws, wrap with ribbons, and stickers, and tuck into canister.
 Use spray adhesive on large areas such as the metal container. It's quick and easy to use!
 Adorn front with papers and flowers...
You can purchase everything you need to complete this project at The Scrapbooking Studio.

Friday, October 18, 2013

{Halloween Goodies Project} with Shelly Maxwell and We R Memory Keepers

As my children begin to enter their teen years, I'm finding it harder to create the same type of excitement that simple candy treats once took care of for me-so I came up with a few ideas that I thought I would share using We R Memory Keepers Halloween papers, a few tags, ribbons, and bags. I'm going to use this type of treat this year for my teenage children and any of their friends that might "haunt" me this Hallow's Eve.
I had a small bag on hand that I folded over at the top and inked around the edges. I simply added a few of the We R Memory Keepers stickers to the front and pop doted one of the stickers. Once the bag had a few larger treats in it, I refolded the top and punched two holes through all layers and laced a ribbon through the holes.  A decorative brad and felt flower embellish the ribbon. 

I also tucked a few tags into small bags that I embellished-I can add greetings to the tags and gift cards to local stores will work great tucked inside as well for a treat this Halloween! These were really quick and easy to put together and I think they look fun and inviting for children of all ages.

You can pick up everything you need to create these items at The Scrapbooking Studio.

Friday, October 11, 2013

{Halloween Cards} with Shelly Maxwell and WRMK

 Create this adorable pop-up card using products purchased from The Scrapbooking Studio. I've used a few Sizzix dies:  Karen Burniston Cards, Square w/ornate edge pop-up 658378 and label insert, the front label was created using Karen Burniston's Frame, Fancy 658038, We R Memory Keepers Halloween papers and embellishments, orange netting tied around the card's crease, and Prima ribbon as a border on the lower portion.
 A pumpkin die and "Trick or Treat" from Sizzix's Tim Holtz collections: Movers and shakers (pumpkin) and Halloween Shadows for the words.
 Prima's silver loosely woven ribbon adds the impression of a spider web to the card's front,


...add bling (above) to the bubbles for added dimension and the fun is just beginning...


I love to use the We R Memory Keepers tags on card fronts-they look great and are easy to use. I taped mine down with yellow polka dot tape.

You can purchase all of these wonderful products (plus a lot more!) at The Scrapbooking Studio.


Friday, October 4, 2013

{Halloween Layout} with Shelly Maxwell and WRMK

 We R Memory Keepers papers and embellishments are a big "treat" this Halloween season. Don't be left with an empty bag on Halloween night-grab your goodies today at The Scrapbooking Studio in Moline, IL
 WRMK always has great "tags"each month that work as journaling on layout pages or on cards as greetings. This one worked out nicely on the layout I created of my two children from a previous Halloween night adventure.
 The matching sticker sheet has a large array of die cut stickers and letter stickers. I was able to create a title and had tons left over for use as embellishments on this 12x12 one page layout.
I pop dotted a few butterflies for dimension and my layout was complete.
You can pick up all of these goodies at The Scrapbooking Studio.